Wednesday, June 24, 2015

DIY Oreo Pops

As a continuation of my DIY wedding desserts, after I mastered cake pops, I figured Oreo Pops would be a breeze..and I was right. Here is how I did them:


Items Needed
Double Stuff Oreos (it is soooo much easier with Double Stuff)
Misc Sprinkles
Candy Melts
Cooking oil, I am sure any kind will do
Lollipop sticks
Aluminum Foil

Directions
  1. Twist all of the Oreos to hopefully have one side with nothing and one side with all of the stuffing.
  2. Melt a cup full of your candy melts. It is best to do this 30 seconds at a time in the microwave on half-power.
  3. Put a plateful of the stuffing halves of the Oreos in the microwave and quickly until the stuffing is somewhat softened
  4. Take a lollipop stick and dip about 2 cm of the tip into the melted candy melts, then stick into the stuffing side of the Oreo. Place the other half of the Oreo back on and put a bit of pressure to ensure it mushes together. Do them all at once, giving the sticks drying time.
  5. After the sticks are done, melt a larger amount of candy melts, I found a very shallow container works the best. Add about half a teaspoon of oil in it and mix. This thins out the melt and makes it easier to dip.
  6. Dip your pops into the melt with the Oreo laying horizontally, go half way in, and hold the pop over the cup for several seconds, tapping it a few times to get all of the excess melt off.
  7. Add desired sprinkles/decoration.
  8. Lay the pop with the undipped side down to dry.
  9. Once the side that was dipped is dry, repeat to dip the opposite side.

Freezing - I make my pops in 2 separate batches, months apart and froze both. To freeze, I placed 2 pops in a sandwich ziploc bag, then filled up a freezer ziploc bag with as many sandwich bags that would fit. All thawed beautifully, no issues.


DIY Cake Pops

By no means am I a master at anything nearly close to cooking or baking, I merely manage to get by with a decent shred of dignity. My mother is the master that is all food making activities. Which means genetically I have a chance!

One thing I have successfully conquered is the sacred art of Cake Pops.

On June 20th, we had our wedding in my hometown and invited nearly 240 guests. We have too many friends, should have cut some pre-engagement (jk...kinda). my ultimate goal was to DIY the sh!t outta that wedding and make it the most amazing dirt cheap wedding ever. My goal budget was $10,000, which is pretty thin for 240 guests. But i just purchased a new-used SUV for $17,000 and i will get many happy years out of that chunk of change... this is one day. An important day, but no day should be worth more than a car. Many times me and my fiance sat in shock anytime we heard of our friends spending anywhere from $20-30,000 on their own weddings. Just. No.

One of my diy tasks was dessert. The cakes I left to my mother, but the cake pops and oreo pops were all mine. Here is how I tackled them:


Items Needed
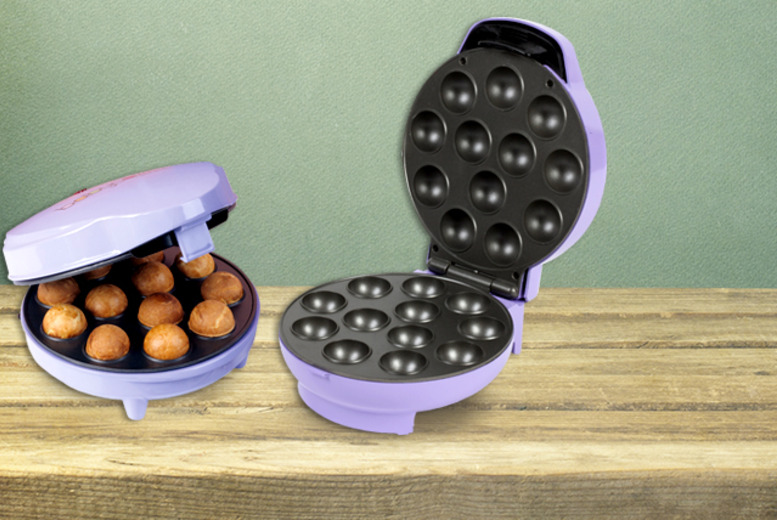
A mini cake pop maker (I used 2 to speed up the process)
Misc Sprinkles
A Box of Cake Mix, any flavour (and needed ingredients)
Candy Melts
Cooking oil, I am sure any kind will do
Lollipop sticks
A container to dip into
Floral foam (or styrofoam)
Squeeze bottle


Directions


  1. Plug in your cake pop maker and let it warm up, follow the device's instructions
  2. Mix up cake mix batter exactly as shown on the box as if you were making the cake.
  3. Pour batter into a squeezable container like an empty ketchup bottle or a pancake bottle... this makes the process cleaner and easier than using a spoon to drop the batter
  4. Squeeze batter into each hole on the maker until that half is totally full. Some may need a tad less. Every batter is different so it may take a couple of rounds to figure out your batter.
  5. Let 'bake' for about 5 minutes, remove from maker and place onto flat surface... dont stack them..they may not turn out round if you do.
  6. Once you are done baking all of your balls and have used up your batter, melt a cup full of your candy melts. It is best to do this 30 seconds at a time in the microwave on half-power.
  7. Once melted, take lollipop stick and dip about 2 cm of the tip into the melted candy melts, then stick into the cake pop. Do them all at once, giving the sticks drying time.
  8. After the sticks are done, melt a larger amount of candy melts, I found a narrow, but tall cup works the best - less waste. Add about half a teaspoon of oil in it and mix. This thins out the melt and makes it easier to dip.
  9. Dip your pops into the melt, go all the way in, and hold the pop over the cup for several seconds, tapping it a few times to get all of the excess melt off.
  10. Add desired sprinkles/decoration.
  11. Stick the pop into a foam so it will dry standing up. This way, you get no flat sides.

Freezing - I make my pops in 2 separate batches, months apart and froze both. If you will be freezing them, replace half of the oil in the cake mix recipe with applesauce. To freeze, I placed 2 pops in a sandwich ziploc bag, then filled up a freezer ziploc bag with as many sandwich bags that would fit. All thawed beautifully, no issues.


I don't have a picture of the cake pops at the wedding, but here is the finished product of the dessert table.

Wednesday, January 28, 2015

DIY Wood Floors

I have a very, very extreme and sick DIY disease.

Growing up in a family with a jack of all trades , and a perfectionist one at that, for a father, and cheap Ukrainian farmers for uncles and a mother, has embedded a veryyyy deep inner voice inside of me that says "Why would I pay someone for that? I can just do it myself".

A good DIY project is what my soul survives on. For majority of our relationship I had wished that my fiance was more like that. Although he is very handy and more often that not becomes involved in my projects as a saving grace when I strip the screw, cant find the stud or if anything needs to be lifted or positioned totally level or straight. (My head often rests slanted to the side naturally so my perspective of 'straight' is totally effed up. I can't make things straight. Ever. Not even with leveling tools.)

With that being said, we are entertaining the idea of buying a new house. A new to us, very old house. It is a local foreclosure that is 3,200 square feet. Our current starter home is 900 square feet. So much room for activities!!!

With that, is the need for a 'facelift'. Including 3,200 square feet of flooring that needs to be replaced. At that price, it adds up quickly.

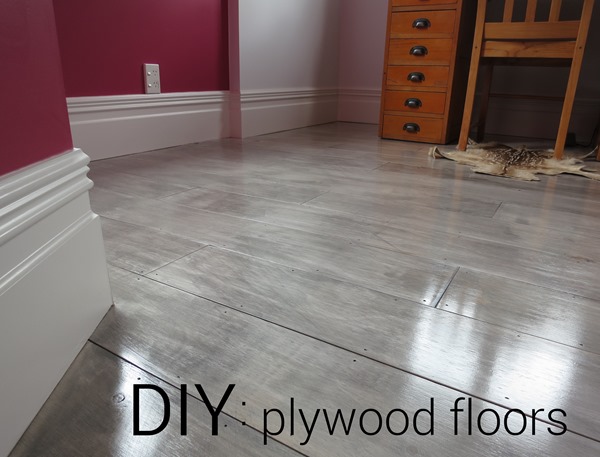
I knew I wanted the wood plank look and wanted it to be kept cheap, but cheap laminate is well, CHEAP. it scratches super easy. So i found this lil gem of a project at Centsational Girl


I am in looooove with the look, and the price. I think my favourite part would be that you can see all of the nail holes.

Here are some other examples of this type of flooring.


Monday, November 17, 2014

DIY Kitchen Makeover

The kitchen in our house was probably the main selling feature for us when we purchased it. It is a great size, had tons of pull-out drawers (I don't think I could ever go back to door-type bottoms again in a kitchen...just, no.) and the island is HUGE.

The only pet peeve of mine...that awful 90's oak. Ok, maybe awful is a tad strong. But for someone who loves diy projects and home decorating as much as I do, they have been a pain in my side forever.

I finally nagged the fiancé to trust me to paint them while he was away on a 3 week stint for work. And I absolutely love the result. My only regret is that I didn't do them sooner.

Granted, I do have to go back and put another coat on, do some touch ups, and complete the insides.

Here is the final product:


I used a white paint in the Diamond level from Dulux Paints and a generic primer.
I switched between a roller and brush.

Really I would love to give you some magical tips...but it is just being patient and doing a detailed job.

Christmas Decor!!!

If it were totally up to me, and I didn't have the scornful look of a fiancé telling me "woman, you crazy", my Christmas Decor would have been up for sure for a week already.

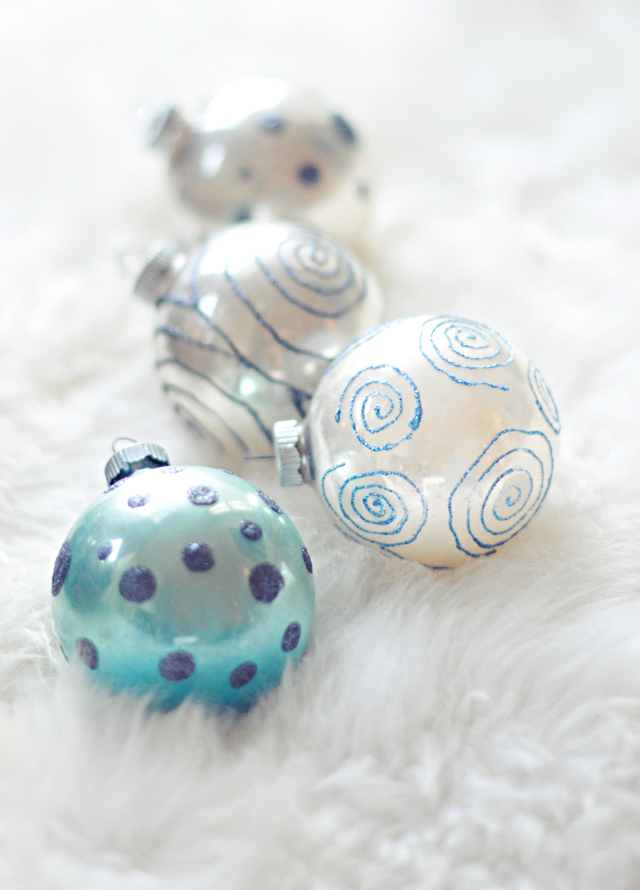
Its not that I am one of those over-joyous Christmas people...I just love how great Christmas Decor makes my house look. I have put alot of time over the last few years gathering clearance priced gems from the post-Christmas clear-outs.

FOR SURE next Sunday, everything is going up!! But in the meantime.. lets enjoy some inspiration.


Tuesday, May 20, 2014

wedding Inspiration

Alot has happened since i last blogged. My impending wedding being the biggest thing.
We are getting married in June, 2015 and I have just kicked myself in the butt to get started on the planning.

Location: Hometown community centre
Theme: Barnboard, lace and sequins
Main colours: Grey, white, blue accents
Budget: I am determined to be under $10K (possibly excluding booze costs)


Please bear with me, as this blog may very well become wedding central