
By no means am I a master at anything nearly close to cooking or baking, I merely manage to get by with a decent shred of dignity. My mother is the master that is all food making activities. Which means genetically I have a chance!
One thing I have successfully conquered is the sacred art of Cake Pops.
On June 20th, we had our wedding in my hometown and invited nearly 240 guests. We have too many friends, should have cut some pre-engagement (jk...kinda). my ultimate goal was to DIY the sh!t outta that wedding and make it the most amazing dirt cheap wedding ever. My goal budget was $10,000, which is pretty thin for 240 guests. But i just purchased a new-used SUV for $17,000 and i will get many happy years out of that chunk of change... this is one day. An important day, but no day should be worth more than a car. Many times me and my fiance sat in shock anytime we heard of our friends spending anywhere from $20-30,000 on their own weddings. Just. No.
One of my diy tasks was dessert. The cakes I left to my mother, but the cake pops and oreo pops were all mine. Here is how I tackled them:

Items Needed
A mini cake pop maker (I used 2 to speed up the process)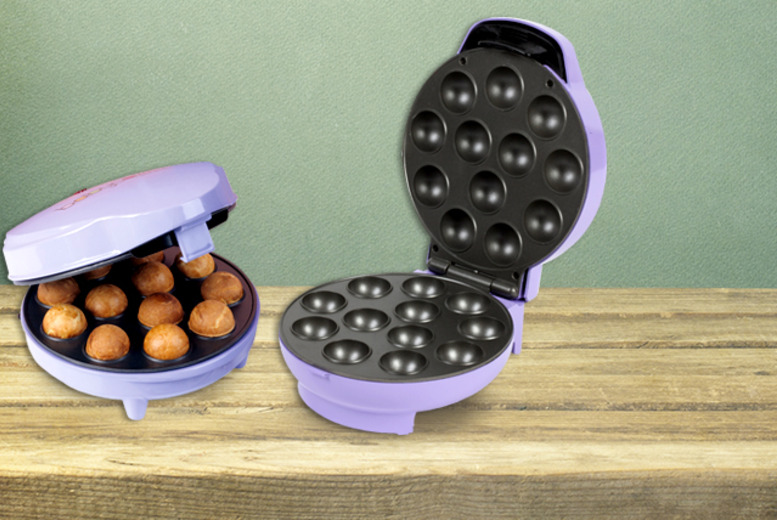
Misc Sprinkles
Misc Sprinkles
A Box of Cake Mix, any flavour (and needed ingredients)
Candy Melts
Cooking oil, I am sure any kind will do
Lollipop sticks
A container to dip into
Floral foam (or styrofoam)
Candy Melts
Cooking oil, I am sure any kind will do
Lollipop sticks
A container to dip into
Floral foam (or styrofoam)
Squeeze bottle
Directions
- Plug in your cake pop maker and let it warm up, follow the device's instructions
- Mix up cake mix batter exactly as shown on the box as if you were making the cake.
- Pour batter into a squeezable container like an empty ketchup bottle or a pancake bottle... this makes the process cleaner and easier than using a spoon to drop the batter
- Squeeze batter into each hole on the maker until that half is totally full. Some may need a tad less. Every batter is different so it may take a couple of rounds to figure out your batter.
- Let 'bake' for about 5 minutes, remove from maker and place onto flat surface... dont stack them..they may not turn out round if you do.
- Once you are done baking all of your balls and have used up your batter, melt a cup full of your candy melts. It is best to do this 30 seconds at a time in the microwave on half-power.
- Once melted, take lollipop stick and dip about 2 cm of the tip into the melted candy melts, then stick into the cake pop. Do them all at once, giving the sticks drying time.
- After the sticks are done, melt a larger amount of candy melts, I found a narrow, but tall cup works the best - less waste. Add about half a teaspoon of oil in it and mix. This thins out the melt and makes it easier to dip.
- Dip your pops into the melt, go all the way in, and hold the pop over the cup for several seconds, tapping it a few times to get all of the excess melt off.
- Add desired sprinkles/decoration.
- Stick the pop into a foam so it will dry standing up. This way, you get no flat sides.
Freezing - I make my pops in 2 separate batches, months apart and froze both. If you will be freezing them, replace half of the oil in the cake mix recipe with applesauce. To freeze, I placed 2 pops in a sandwich ziploc bag, then filled up a freezer ziploc bag with as many sandwich bags that would fit. All thawed beautifully, no issues.

I don't have a picture of the cake pops at the wedding, but here is the finished product of the dessert table.

I don't have a picture of the cake pops at the wedding, but here is the finished product of the dessert table.
No comments:
Post a Comment